Imagine a pie so comforting and delightful that every bite brings a sense of warmth and nostalgia. Kimo’s Pie Recipe is exactly that—a beloved homestyle dessert that has been cherished by families for generations. This pie is not just about its delicious filling or flaky crust; it’s about the memories and stories shared around the table. If you’re ready to embark on a culinary journey that celebrates simplicity and homemade goodness, learning how to make Kimo’s Pie will surely become a favorite in your repertoire.
Exploring the Essence of Kimo’s Pie
Kimo’s Pie is a classic dessert known for its rich, creamy filling and buttery crust. It’s a dessert that embodies the essence of home cooking, where every ingredient is chosen with care and every step is a labor of love. Whether you’re baking it for a special occasion or just to treat yourself, Kimo’s Pie promises to deliver a slice of happiness with every forkful.
Essential Ingredients for Kimo’s Pie
To create a delicious Kimo’s Pie, gather these essential ingredients:
- Pie Crust: You can use store-bought pie crust for convenience or make your own with flour, butter, salt, and water.
- Eggs: Eggs are a key ingredient in the filling, providing structure and richness.
- Sugar: Adds sweetness to the filling, balancing the flavors.
- Milk or Cream: Gives the filling its creamy texture and helps bind the ingredients together.
- Vanilla Extract: Enhances the flavor profile of the pie with its aromatic essence.
- Nutmeg: Provides a subtle warm spice that complements the sweetness of the pie.
Step-by-Step Guide to Making Kimo’s Pie
Now, let’s dive into the process of making Kimo’s Pie right in your own kitchen:
- Prepare the Pie Crust: If you’re making your own pie crust, start by combining flour, salt, and cold butter in a bowl. Mix until the mixture resembles coarse crumbs. Add cold water gradually, mixing until the dough comes together. Form the dough into a disc, wrap it in plastic wrap, and refrigerate for at least 30 minutes.
- Roll Out the Dough: On a lightly floured surface, roll out the chilled dough into a circle slightly larger than your pie dish. Carefully transfer the dough to the pie dish, gently pressing it into the bottom and sides. Trim any excess dough hanging over the edges.
- Pre-bake the Crust: To prevent a soggy bottom, pre-bake the pie crust. Line the crust with parchment paper or foil and fill it with pie weights or dried beans. Bake in a preheated oven at 375°F (190°C) for about 15 minutes. Remove the weights and parchment/foil, then bake for another 5 minutes until the crust is golden brown. Let it cool while you prepare the filling.
- Make the Filling: In a mixing bowl, beat eggs, sugar, and vanilla extract until well combined and slightly frothy. Gradually add in milk or cream, continuing to mix until smooth. Sprinkle in nutmeg and mix again.
- Assemble and Bake: Pour the filling into the pre-baked pie crust. Place the pie carefully in the oven and bake at 350°F (175°C) for 40-45 minutes or until the filling is set and the top is golden brown. If the edges of the crust start to brown too quickly, cover them loosely with foil.
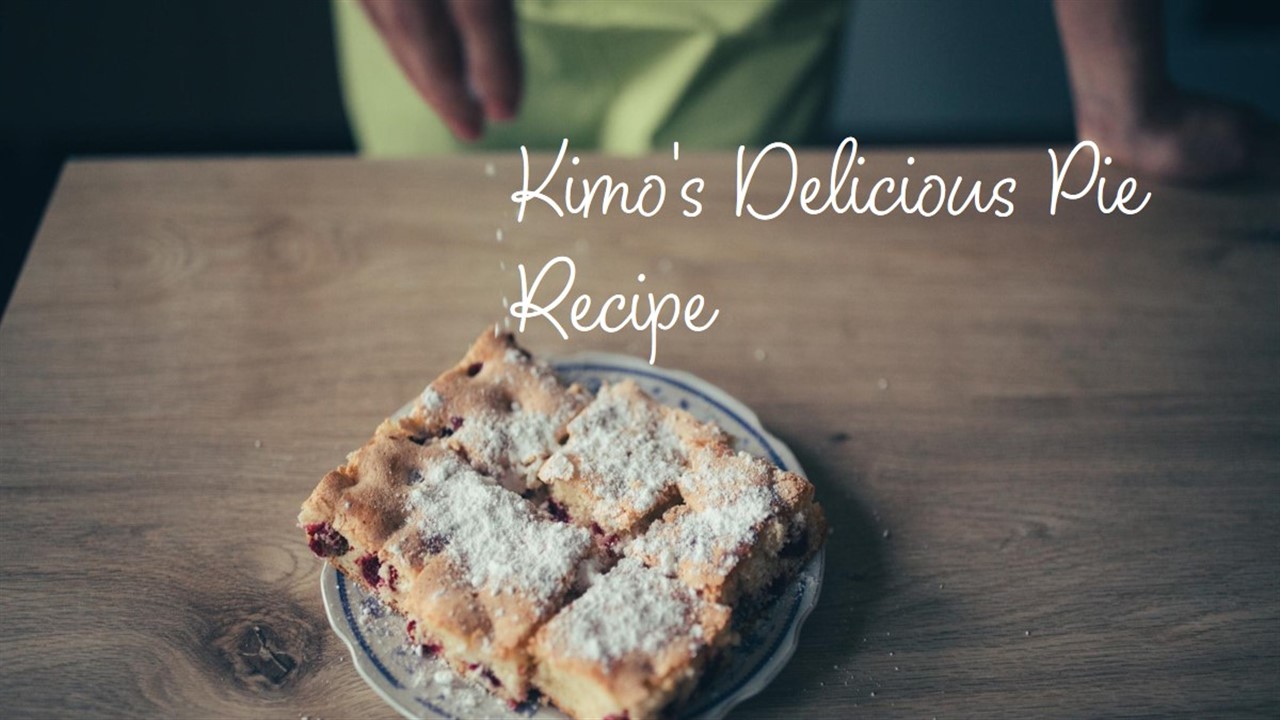
- Cool and Serve: Allow Kimo’s Pie to cool completely on a wire rack before slicing. Serve at room temperature or chilled, garnished with a dusting of powdered sugar or a dollop of whipped cream.
Serving and Enjoying Kimo’s Pie
Kimo’s Pie is best enjoyed fresh on the day it’s baked, but leftovers can be stored in the refrigerator for a few days. Serve it as a delightful dessert after a family meal or bring it to gatherings to share its homely goodness with friends and loved ones.
Tips for Perfecting Your Kimo’s Pie
- Chill the Dough: Refrigerating the pie dough helps prevent shrinking during baking and ensures a flaky crust.
- Use Fresh Ingredients: Quality ingredients make a difference in the flavor and texture of the pie.
- Adjust Sweetness: Taste the filling before baking and adjust the sugar according to your preference.
Conclusion
In conclusion, Kimo’s Pie is more than just a dessert; it’s a symbol of comfort, tradition, and the joy of homemade baking. Whether you’re a novice baker or an experienced chef, making Kimo’s Pie allows you to create moments of happiness and connection with those you share it with. With its creamy filling and buttery crust, this pie invites you to savor the simple pleasures of life, one slice at a time.
For more ideas, recipes, and cooking tips and tricks, please visit us at Mciap.
FAQs About Kimo’s Pie Recipe
Can I use a different type of crust for Kimo’s Pie?
Yes, you can experiment with different types of crusts, such as graham cracker crust or even a gluten-free crust, to suit your preferences.
How can I prevent the pie crust from becoming soggy?
Pre-baking the crust helps prevent it from becoming soggy when you add the filling. Use pie weights or dried beans to weigh down the crust while baking.
Can I freeze Kimo’s Pie?
Yes, you can freeze Kimo’s Pie. Wrap it tightly in plastic wrap and foil before freezing. Thaw in the refrigerator overnight before serving.
Can I substitute the nutmeg with other spices?
While nutmeg adds a unique flavor, you can experiment with cinnamon or a combination of spices like cinnamon and cloves for a different flavor profile.
How long does Kimo’s Pie stay fresh?
Store Kimo’s Pie in the refrigerator and consume within 3-4 days for the best quality and freshness.
This article has guided you through the delightful process of making Kimo’s Pie, encouraging you to embrace the joy of homemade baking and share its delicious flavors with your loved ones.